Back when we used to get ready for school in the morning (remember that?) I had plenty of days where the chaos of trying to get out the door left me feeling unorganized and I didn’t like the kids starting their day in such a frenzy either. I tried to really pin-point what the exact things were that were causing the frustration. Whatever it was, I wanted to try and fix it. Besides the usual getting backpacks and lunches ready…. finding the right shoes for the day ended up topping my list. Our old way was to throw all of our shoes in a laundry basket in the coat closet. Then, I’d say “It’s time to go! Let’s get your shoes on!” and the kids would head to the basket to rummage for their matching pair of shoes for the next 15 minutes. A lot of mornings ended up with me dumping the entire bin onto the floor in our mudroom as I desperately tried to find the match before we were too late for school. 
Okay, so obviously the shoes were a problem I needed to fix. And so I vowed that I was NOT dumping that whole basket of shoes out onto the floor one more time. Enter this shoe storage idea. The basket on the floor of the closet was obviously a terrible idea to begin with and I wanted the kids to instead be able to easily scan their shoe inventory and make a morning-time decision… fast. After gathering some inspiration online, the garage shoe wall started becoming a reality. Here’s how we made it: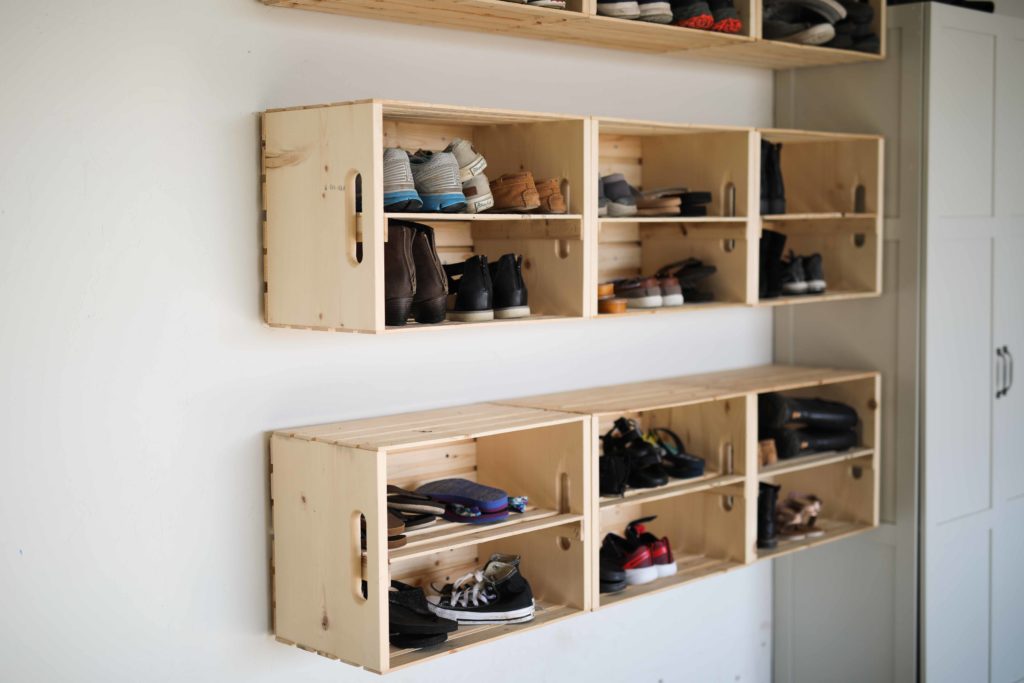
- Find some functional (and cheap!) wooden crates. We bought these particular ones at Menards for approximately $12 each last year. If you’re looking at the pictures above, there are nine of them on our garage wall. I’ve also seen similar wood crates on Amazon, which are actually slightly less expensive.
- Depending on the size of the crates that you get, you might want to to add a divider to make extra shoe spaces. We added lath boards (you can buy these for super cheap in a bundle) to divide them in half. This involves gluing and stapling a piece of wood to the edges of each box to act as a support for the extra lath boards that you’ll add through the middle. Then, go ahead and lay the lath boards across and use staples to hold them in place.
- If you’re going to put this up in your garage, the best way to do this is to screw a 2X4 (or any board really) horizontally across the wall in each row, making sure that you screw into the studs (which should be every 16″ in most situation). Once you’ve done this, then you have an easy way to securely attach these boxes using screws.
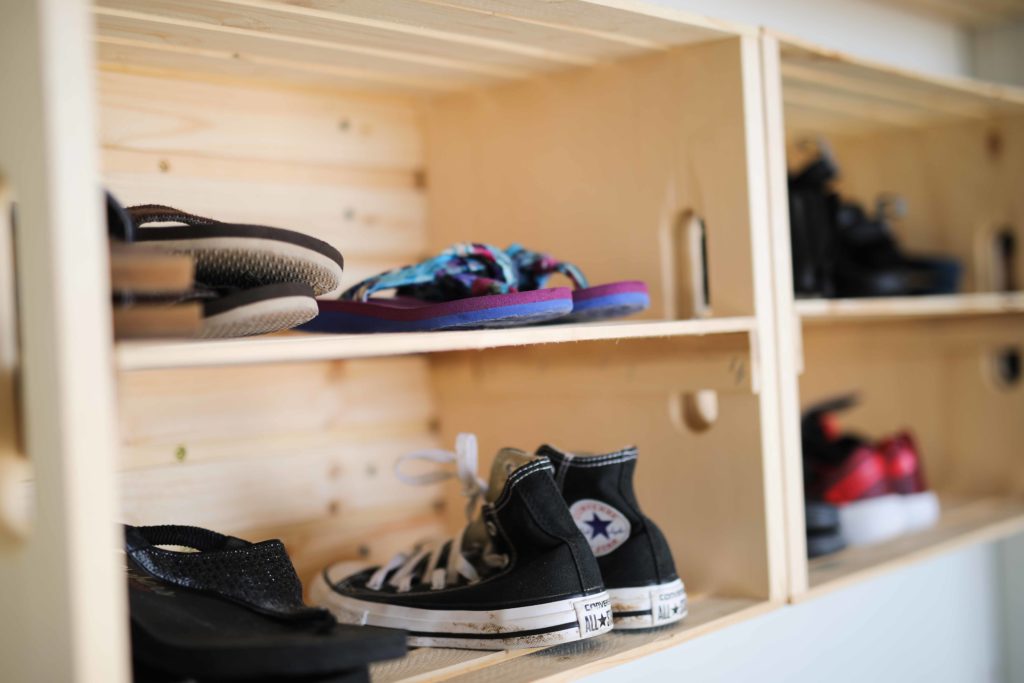
- Fill it up with shoes and relax as your missing shoe problems slowly disappear from your morning routine.
We completed this project almost a year ago now and it’s been a lifesaver. We spent less than $150 on the entire thing and this investment is WELL worth the smoother mornings. Even though these days we aren’t rushing around getting ready for school, there are so many benefits to simplifying this part of life!
Love, Erin