Creating photobooks makes me happy. For me, it gives the thousands of pictures that I take every year a purpose. I love to have a reason to organize my images, a place to put them where the kids can relive the moments, and making the books gives me a chance to journal about times in our life that I never want to forget. Once I have a book done, then I feel like I can “turn the page” (literally) on that part of our year and move on to the next. If you’re ready to start making books too, I’d love to show you the process that I use to make photobook creating easy and something that I look forward to doing. 
Before you read any further, I should mention two things… 1. I’m a photographer (like it’s actually my job) so I’m guessing that I take WAY more pictures than the average parent. For this reason, I make a book every three months with photos from both my DSLR camera and my cell phone. But a lot of people do yearly recap books too, which is awesome. There is no right answer and just getting your pictures into a medium where you can enjoy them is good no matter how you do it. 2. Eight years ago when my daughter was born I started making the books through Shutterfly. I loved the user-friendly approach to their books – and I still do today. They’ve come so far with upgrades that you can choose to make your books look super professional like lay-flat pages, 6-color photo printing, and a matte hard cover. I’ve been really happy with their product. However, there are so many great options out there for making books and whatever you choose can work! I’m a firm believer in just doing something with your pictures.
FOLDERS: So, here’s where I start. Make a folder on your computer with either an event that you want in your book or a date range that you want to cover. It’s easiest if you go through the images in the folder first and take out the out-takes. Once you’re making the book you’ll have the option to delete any of the images that you don’t end up wanting in there, but make it easier for yourself and do some of that work in your folder ahead of time.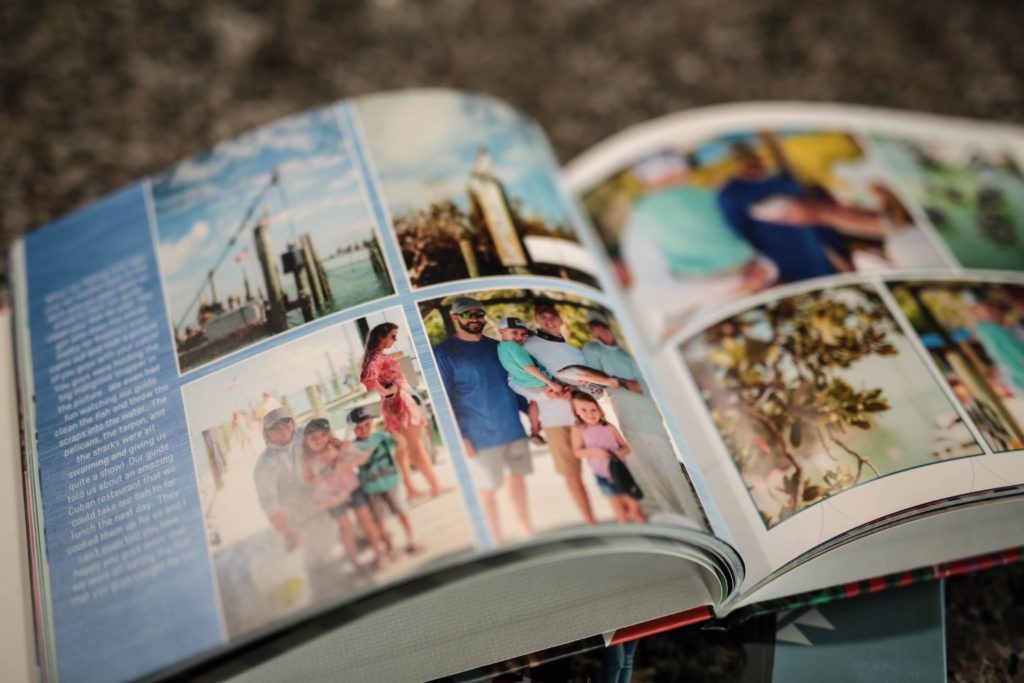
BOOK SIZE + STYLE: Next, head on over to the Shutterfly site and decide what size book you’ll make. I’ve always loved the 8X11 size books… I like the rectangular pages for laying out images, but you can choose any option. Once you’ve selected a size, you’ll pick the style of book. There are tons of great styles in Shutterfly and you can kind of match up the theme with the photos you’ll be adding, or you can choose something generic. Whichever style you choose is just the starting point and you can always search for other backgrounds, frames, stickers, etc. that you would want to add, even if they aren’t included in your original style that you choose.
ADD PHOTOS: The very next prompt on the site will be to start your creation by adding photos. Here’s your chance to link to your folder on your computer and then let the images you’d like upload into the project. Once you’ve chosen the images, Shutterfly will ask if you want the photos pre-placed into your book’s pages in chronological order… my advice is, YOU DO. This option is such a timesaver. You’ll have the option to rearrange and edit later, but this is a great way to get your book done quicker.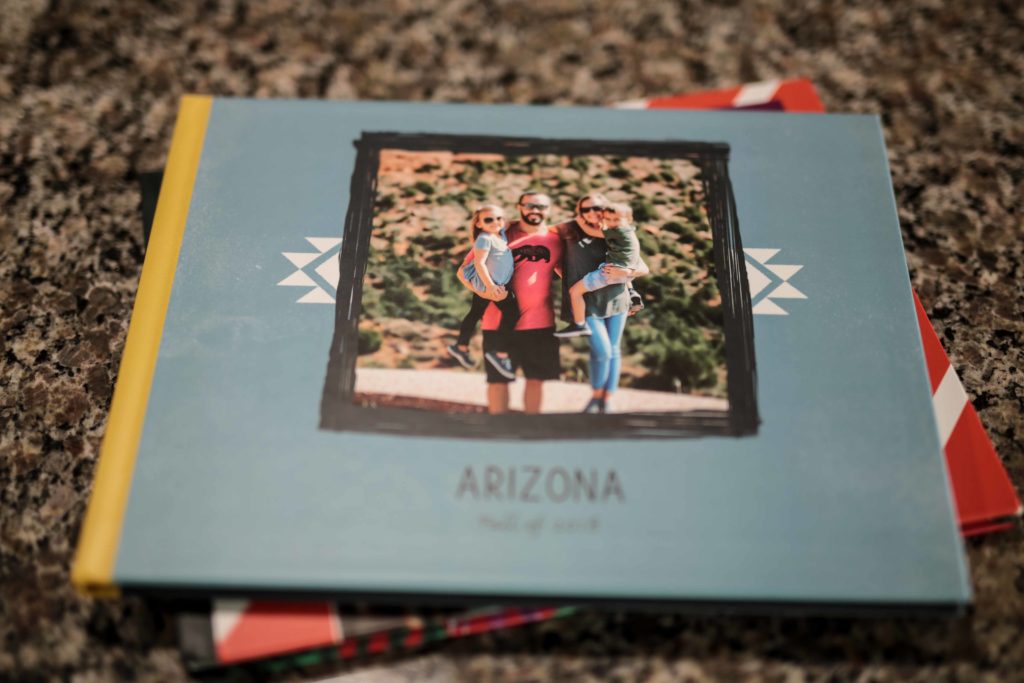
GET FAMILIAR: Next, take some time to get familiar with the program. The main idea is that there are different “modes” on the top of your screen – style, storyboard, edit, arrange, and options. I mainly toggle between the storyboard and edit modes as I’m making my book. Next, to the left of your screen you’ll see all of your options for layouts, backgrounds, and embellishments.
STORYBOARD MODE: The storyboard mode is always where I start. If you click on this you’ll be able to see every single page of your book alongside your images and here’s where you can drag and drop pictures onto the pages to decide which images will go together on which pages. My process is to get this part completely finished before moving on to making any other decisions about your book. Once you have it organized exactly how you want it, then switch back to edit mode.
EDIT MODE: In this mode you’ll be able to really use your creative side and make the pages look how you want. I always start with the layouts and backgrounds for each page before I move on to anything else. Depending on how many images are on your page, you can choose a layout that works well to best showcase your pictures. Then add a background. Notice that you can click on “get more backgrounds” where you can search and add any other background that Shutterfly has – even if it doesn’t correspond to the book style that you originally started with. Actually, you can click on “get more ______” for backgrounds, layouts, stickers, ribbons, and frames too! 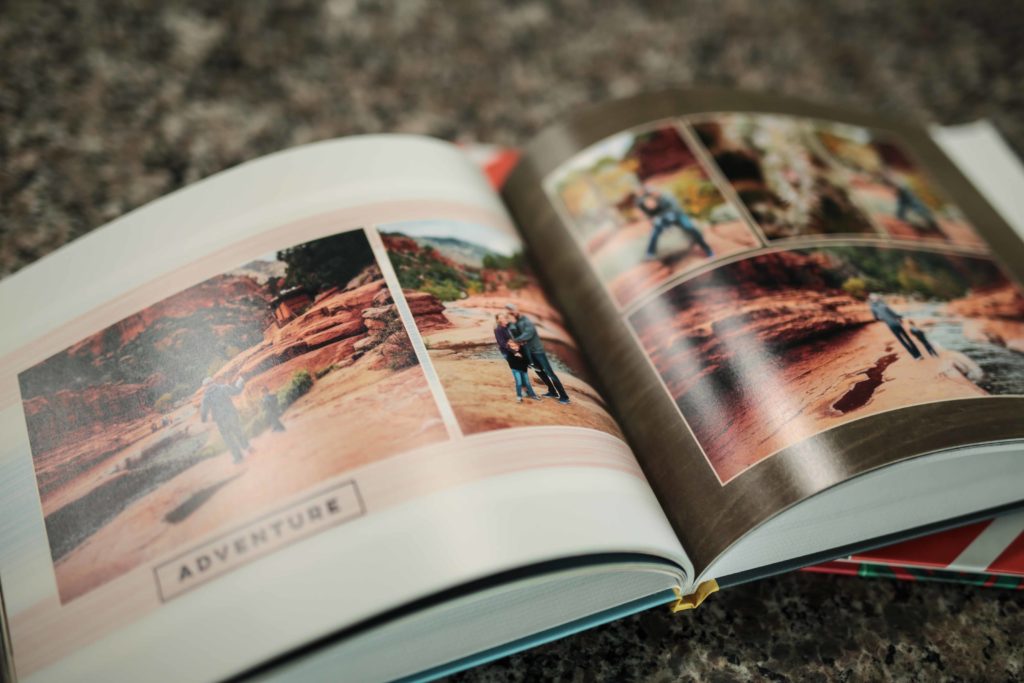
EMBELLISHMENTS + TEXT: I save the embellishments (stickers, frames, and ribbons) and text for last on my books. I like to go through and get everything else all set before I do this last part – and this way I can make sure that I edit everything I wanted to without missing pages. Depending on the type of book you’re making, you can make the decision to get super creative with your embellishments or to keep it simple. When I first started making my books I loved adding all of the cute frames and coordinating stickers, but these days I prefer to keep my books fairly simple. When it comes time to write the text for your book, my advice is to keep it fairly simple and don’t let this part stress you out too much. I can’t tell you how many times I’ve sat with a book almost done and didn’t finish it for such a long time because I had writer’s block or felt like I wasn’t remembering events the way I wanted to. It’s okay if certain photo memories speak for themselves. You don’t have to write something for every page or every memory. The ones that warrant an explanation will probably come to you when looking at the pictures. I choose to write my books as if I were writing letters to my kids. So, my text often goes like… “Ensley, seeing you go down that slide made us all smile!” or “Landry, we were so proud of you when you rode your bike with no training wheels!” I think that as long as you’re consistent in all of your books, there’s no wrong way to do this part either. 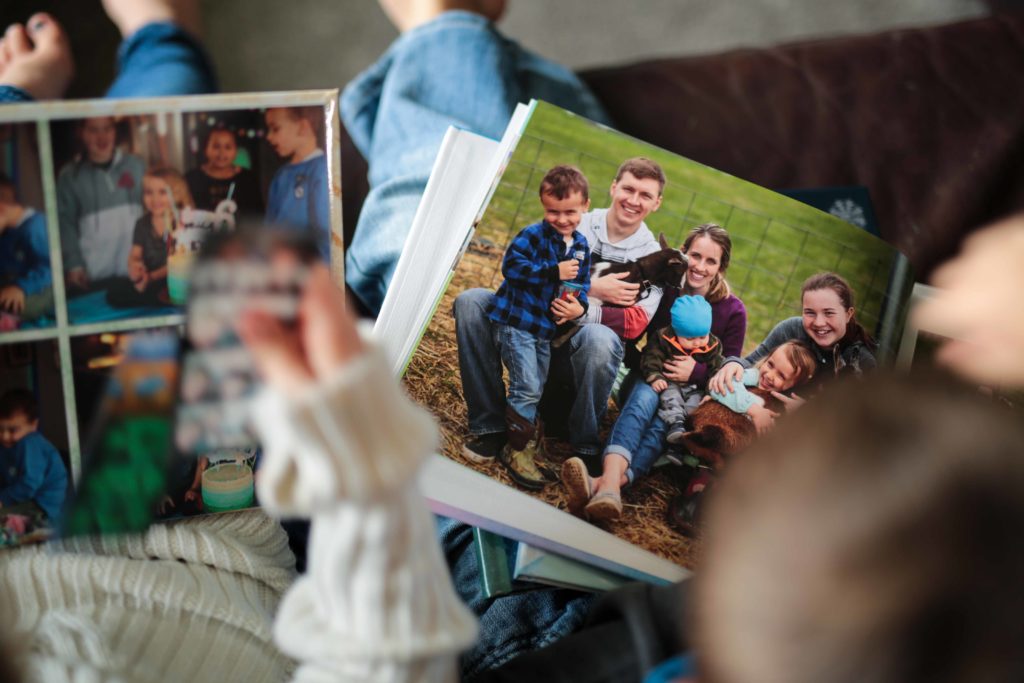
ADD TO CART: Maybe the best feeling in the world is when you get to hit “add to cart” because it means that your book is complete! As for ordering options, I choose to upgrade to a matte cover (I think they look and feel so professional!) and I upgrade to the 6-color professional photo printing because I want my images to look as great as possible. Otherwise, I keep with the standard options for ordering.
COUPONS: Another great feature about using Shutterfly is that there are always coupons or special offers to bring the price of your photobook down. I typically get my promo codes and deals from: the shutterfly.com site, retailmenot.com, the coupons I get sent in the mail with my Kohl’s charge bill, or sometimes I’ll see a promo code posted on Facebook. The very best code, in my opinion, is when you can add unlimited extra pages – as the majority of the cost in my books comes from the number of pages beyond what’s included. My general rule (and I’ve been ordering these for a while) is that if you can’t get at least 40% off the full price, then save the book in your cart and order another time. The deals on the site are constantly changing. Oh, and don’t forget that you can almost always get free standard shipping with the code SHIP39. 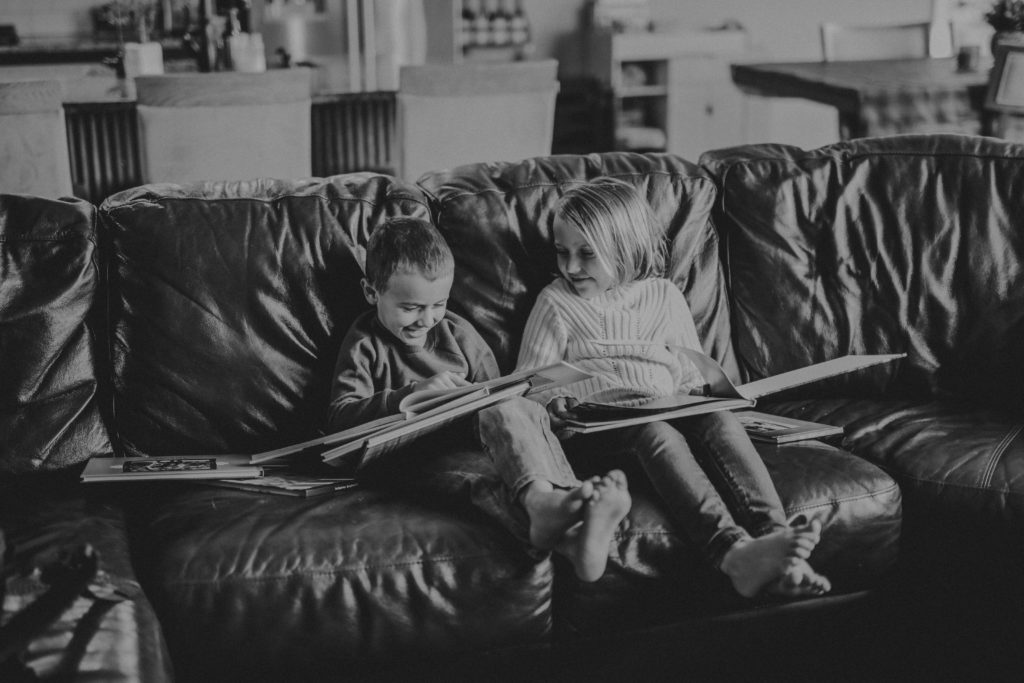
Trust me, that you’ll be so proud of yourself for completing a photobook. It’s such a relief to know that you’ve given those memories a purpose and once your kiddos cuddle up on the couch and giggle together as they look through your book and reminisce about fun times, you’ll be hooked. Happy photobook making everyone!
Love, Erin